 |
| A little place to dream and grow. |
My garden is a baby in its nursery right now, and I created its baby book--my 2011 Garden Journal.
This year, instead of just scratching out the garden bed layout on the back of a stained to-do list, and finding some tear of paper to list what I'm planting--I decided to whip out my scrapbooking stash and create a real garden journal to post everything from start to finish, including pictures. I think it will be a keeper.
One of my problems, lately, is the fact that I never PRINT pictures anymore! I think we are so reliant on our computers, phones and devices to look at our pictures--that when we sit down to scrapbook, we find ourselves pictureless! And yes, I do some digital scrapbooking, but it does not take the place of sitting down surrounded by beautiful papers, punches, stickers, beads, and ribbons. When you do a lot of your daily work on the computer, and I do a lot of writing as well, I need time away from the keyboard! Making my sweet garden journal was an afternoon of pure bliss.

 |
| I included an old sticker picture of my daughter when | she played a daisy once! |
The first things I plan to journal on the inside will be the garden layout plan, where I want things to grow, where I plan to put starts and seeds (I like to start some seeds, like spaghetti squash, right in the garden), and later a layout that shows where everything actually ended up! Sometimes the garden takes on a mind of its own.
 |
| Love word stickers! |
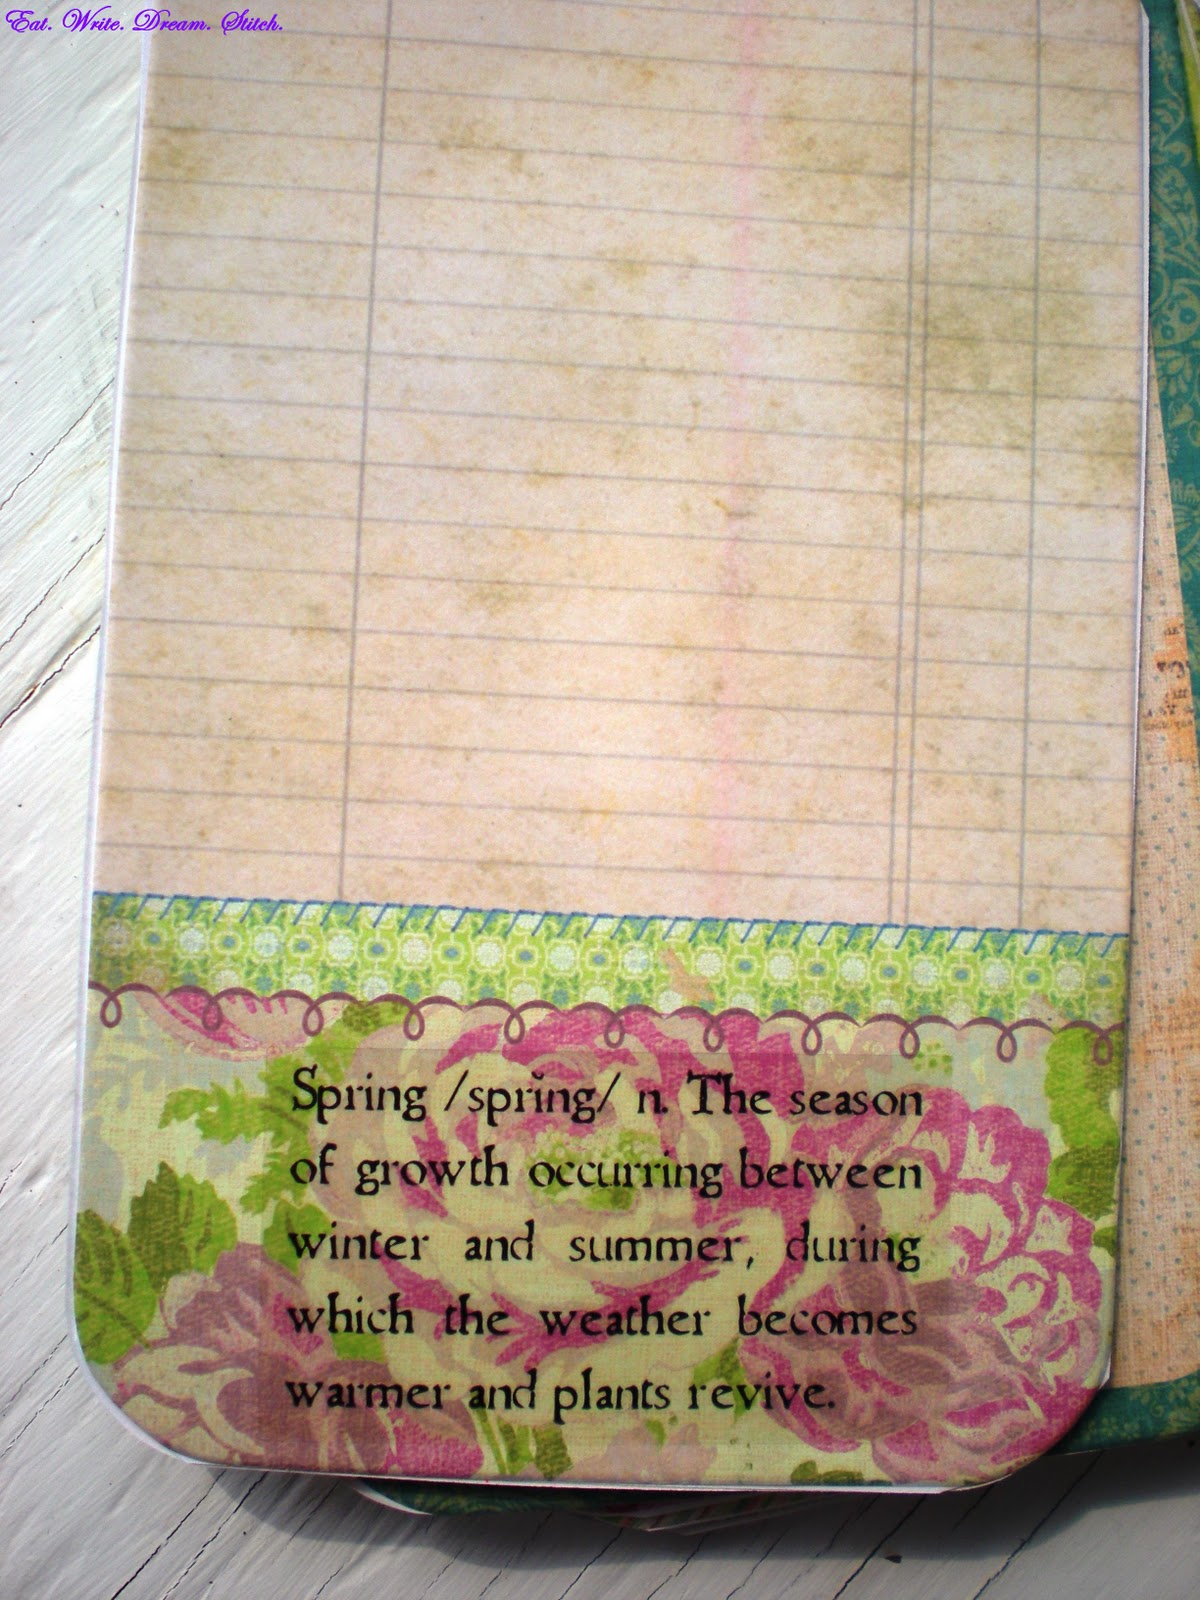
The lined tag pages will be a perfect place to list all the seeds and starts I am planning to grow and plant.
Back to the cover though! The first thing I did was lay out the punched out letters, where I wanted those to go--then I knew the rest of the design would happen around the words "garden journal."
From a photo of an inspiration tag book, I knew I wanted beads.
 My flower beads were perfect for the garden theme, and I stumbled onto this technique to use my butterfly punch to put the bead string through, and then to keep from having the black of the blackboard show through, I glued in some glittery paper. I liked that technique so much, I used it on the very bottom of the back cover of the journal as well.
 |
| Back cover w. a word sticker added. |
Before stringing in the beads, I added a spring-themed ribbon, glued on, and used the same ribbon to tie the whole book together.
 |
| My garden is a kingdom far away. |
As I said before--I have not, sadly, printed recent pictures from last year's garden! But I managed to find an older picture of my zinnias (I grow a cutting flower garden every year), from a few years ago, and glued on a frame on the front cover--I love it. Then I added a word sticker about "Bloom."
I am excited about a couple of new Martha Stewart punches I now have, and used one of those to create a cute doily look with white card stock for the bottom. I added sticker polka dots, and some words printed out with a little glitter added.
The first tomato starts are growing on my greenhouse sunporch--reaching for the sun. I've started with the varieties of Better Boy, Roma, and some Cherry Tomatoes--and I'm beginning to record all of this in my little garden journal. When it's all said and done, I'll also add a few canning recipes, and plenty more pictures, stickers, and stamps. It will be a treasure and a little dreambook for the next year.
Eat - grow - be happy!


 My flower beads were perfect for the garden theme, and I stumbled onto this technique to use my butterfly punch to put the bead string through, and then to keep from having the black of the blackboard show through, I glued in some glittery paper. I liked that technique so much, I used it on the very bottom of the back cover of the journal as well.


No comments:
Post a Comment