Monday, February 28, 2011

THE THEME IS "FROLIC"

An "Inchie" is one square inch of art.
Today's Inchie theme, "Frolic," might have you imagining someone skipping through a field of flowers.  

But I pictured someone who had just finished her frolic. Someone with long pink hair, on a windy day, standing in the middle of a field of bachelor's buttons, smiling, with the wind blowing her curls straight up. That's my "frolic." Oh, and she is purple.

She began her life on a one-inch square of 14-count aida cloth. I inserted her DMC memory thread curls--using a long straight pin to wind each strand around making the tiny ringlets.

I quickly embroidered her face and a hint of a blue dress. The tiny piece of aida cloth quickly wanted to unravel, even though I had sewn the edges--I saved it by giving it a piece of purple polka dot material for the backing. My frolic was over!

Here's a another portrait of Frida--I couldn't decide which background to photograph her on for the Every Inchie Monday gallery. (visit http://everyinchiemonday.blogspot.com/)

This is the one I think I will upload. Phew! Next week the theme is "Dance."


Sunday, February 27, 2011

Garden Tag Book Journal

A little place to dream and grow.
My garden is a baby in its nursery right now, and I created its baby book--my 2011 Garden Journal.

 This year, instead of just scratching out the garden bed layout on the back of a stained to-do list, and finding some tear of paper to list what I'm planting--I decided to whip out my scrapbooking stash and create a real garden journal to post everything from start to finish, including pictures. I think it will be a keeper.

One of my problems, lately, is the fact that I never PRINT pictures anymore! I think we are so reliant on our computers, phones and devices to look at our pictures--that when we sit down to scrapbook, we find ourselves pictureless! And yes, I do some digital scrapbooking, but it does not take the place of sitting down surrounded by beautiful papers, punches, stickers, beads, and ribbons. When you do a lot of your daily work on the computer, and I do a lot of writing as well, I need time away from the keyboard! Making my sweet garden journal was an afternoon of pure bliss.  

I had this "Mega Tag Pad" of gorgeous tag papers, about 8X4 inches in size, for quite a while, and it was time to use them. I wanted the cover and back of this tag-style journal to be nice and sturdy, and so I cut out blackboard to sandwich in-between two of the tag papers for front and back covers. In my scrapbook stash--which I add to anytime I find scrapbooking sales and bargains--I found punch-out letters, word stickers, and my butterfly stamp to get things started.

I really had no idea how I was going to design my front cover, and pulling some inspiration from a creative blogging magazine helped a lot. 

For the inside of the journal, I wanted the papers to be sturdy to write on and eventually add pictures and more decorating as the garden grows and I journal the progress. I glued the tag papers to white card stock, front and back, and used a simple hole punch for the top.

I included an old sticker picture of my daughter when she played a daisy once!
The first things I plan to journal on the inside will be the garden layout plan, where I want things to grow, where I plan to put starts and seeds (I like to start some seeds, like spaghetti squash, right in the garden), and later a layout that shows where everything actually ended up! Sometimes the garden takes on a mind of its own.

Love word stickers!


The lined tag pages will be a perfect place to list all the seeds and starts I am planning to grow and plant.


Back to the cover though! The first thing I did was lay out the punched out letters, where I wanted those to go--then I knew the rest of the design would happen around the words "garden journal."

From a photo of an inspiration tag book, I knew I wanted beads. 


My flower beads were perfect for the garden theme, and I stumbled onto this technique to use my butterfly punch to put the bead string through, and then to keep from having the black of the blackboard show through, I glued in some glittery paper. I liked that technique so much, I used it on the very bottom of the back cover of the journal as well.
Back cover w. a word sticker added.
Before stringing in the beads, I added a spring-themed ribbon, glued on, and used the same ribbon to tie the whole book together.

My garden is a kingdom far away.


As I said before--I have not, sadly, printed recent pictures from last year's garden! But I managed to find an older picture of my zinnias (I grow a cutting flower garden every year), from a few years ago, and glued on a frame on the front cover--I love it. Then I added a word sticker about "Bloom." 


I am excited about a couple of new Martha Stewart punches I now have, and used one of those to create a cute doily look with white card stock for the bottom. I added sticker polka dots, and some words printed out with a little glitter added. 


The first tomato starts are growing on my greenhouse sunporch--reaching for the sun. I've started with the varieties of Better Boy, Roma, and some Cherry Tomatoes--and I'm beginning to record all of this in my little garden journal. When it's all said and done, I'll also add a few canning recipes, and plenty more pictures, stickers, and stamps. It will be a treasure and a little dreambook for the next year. 

Eat - grow - be happy!


Friday, February 25, 2011

Vintage Recipe Friday--Make Your Own Bisquick

Cheddar Dill Biscuits--Make them for dinner!
I love old recipes--you know, the ancient ones from the 1940's and 1950's! I have some handed down from Grandma, Great Aunt Sis, and Mom. But I also have stacks of old recipe books and I thought it would be fun to start a new thing--Vintage Recipe Friday. It's the perfect day to get your hands on something old/new to try for the weekend!


The source for the recipe I'm going to share today is a pamphlet, which looks like it is from the 1930's or 40's, but it is not dated. It was prepared by the Home Economics Department for Proctor & Gamble. There's a word you never see anymore--Home Economics! This is the official "Crisco Biscuit Mix" which does not need to be refrigerated and can be stored in the kitchen in a covered container. Basically, this is your own homemade "Bisquick." Just imagine--they came up with this over 70 years ago. Bisquick was actually invented in the 1930's when a General Mills sales rep met a train dining car chef and got this same kind of recipe for his biscuits. I use Bisquick to make pancakes and their "cheeseburger pie" recipe. But I might have to try this--I also wonder if it would work with a wholegrain flour.
 **************
Crisco Biscuit Mix
6 cups sifted flour
3 tablespoons baking powder
1 cup Crisco
1 tablespoon salt

Mix dry ingredients in large bowl or on a large square of paper. Cut Crisco into flour with blender or two knives until mixture looks like coarse cornmeal. 
To use biscuit mix: 1 cup of mix will make six to eight 1 1/2-inch biscuits. For each cup of biscuit mix, use 1/4 cup milk. Add milk, blend well. Knead dough lightly on floured board. Roll dough about 1/2-inch thick. Cut with a floured cutter. Bake in a hot oven at 425 degrees for 10-15 minutes or until brown as desired.
 **************
I would suggest using the butter flavor Crisco, which they did not have back then, for a buttery flavor biscuit--yum! For my cheddar dill biscuits, above, I just added chopped fresh dill, about a tablespoon, and a cup of shredded sharp cheddar cheese. A nice treat with dinner, or a fried chicken picnic.


Speaking of picnics, spring, and food--I am in the process of starting pots and pots of seeds on my greenhouse. We got a little taste of spring this month--and I am cheering spring on, all the way...hurry up and get here! I can't wait to watch my little tomatoes and herbs grow up and get them ready for the garden, and I will be in bliss when I can plant some lettuces and radishes in March--they like it a bit cool outside. My chives will be coming back around that time so chive butter, chive omelets, and big fluffy baked potatoes with chives will be on the menu.

I'm also very excited because a good friend of mine who teaches scrapbooking workshops, and lives a few hours away from here, will be coming for a visit in April, and we are going to have a wonderful scrapping session with all of those tags I've been collecting. For over a year, I've been saving tags off of almost anything we buy, so this will be such a fun project--very green--and I promise to blog all about it.


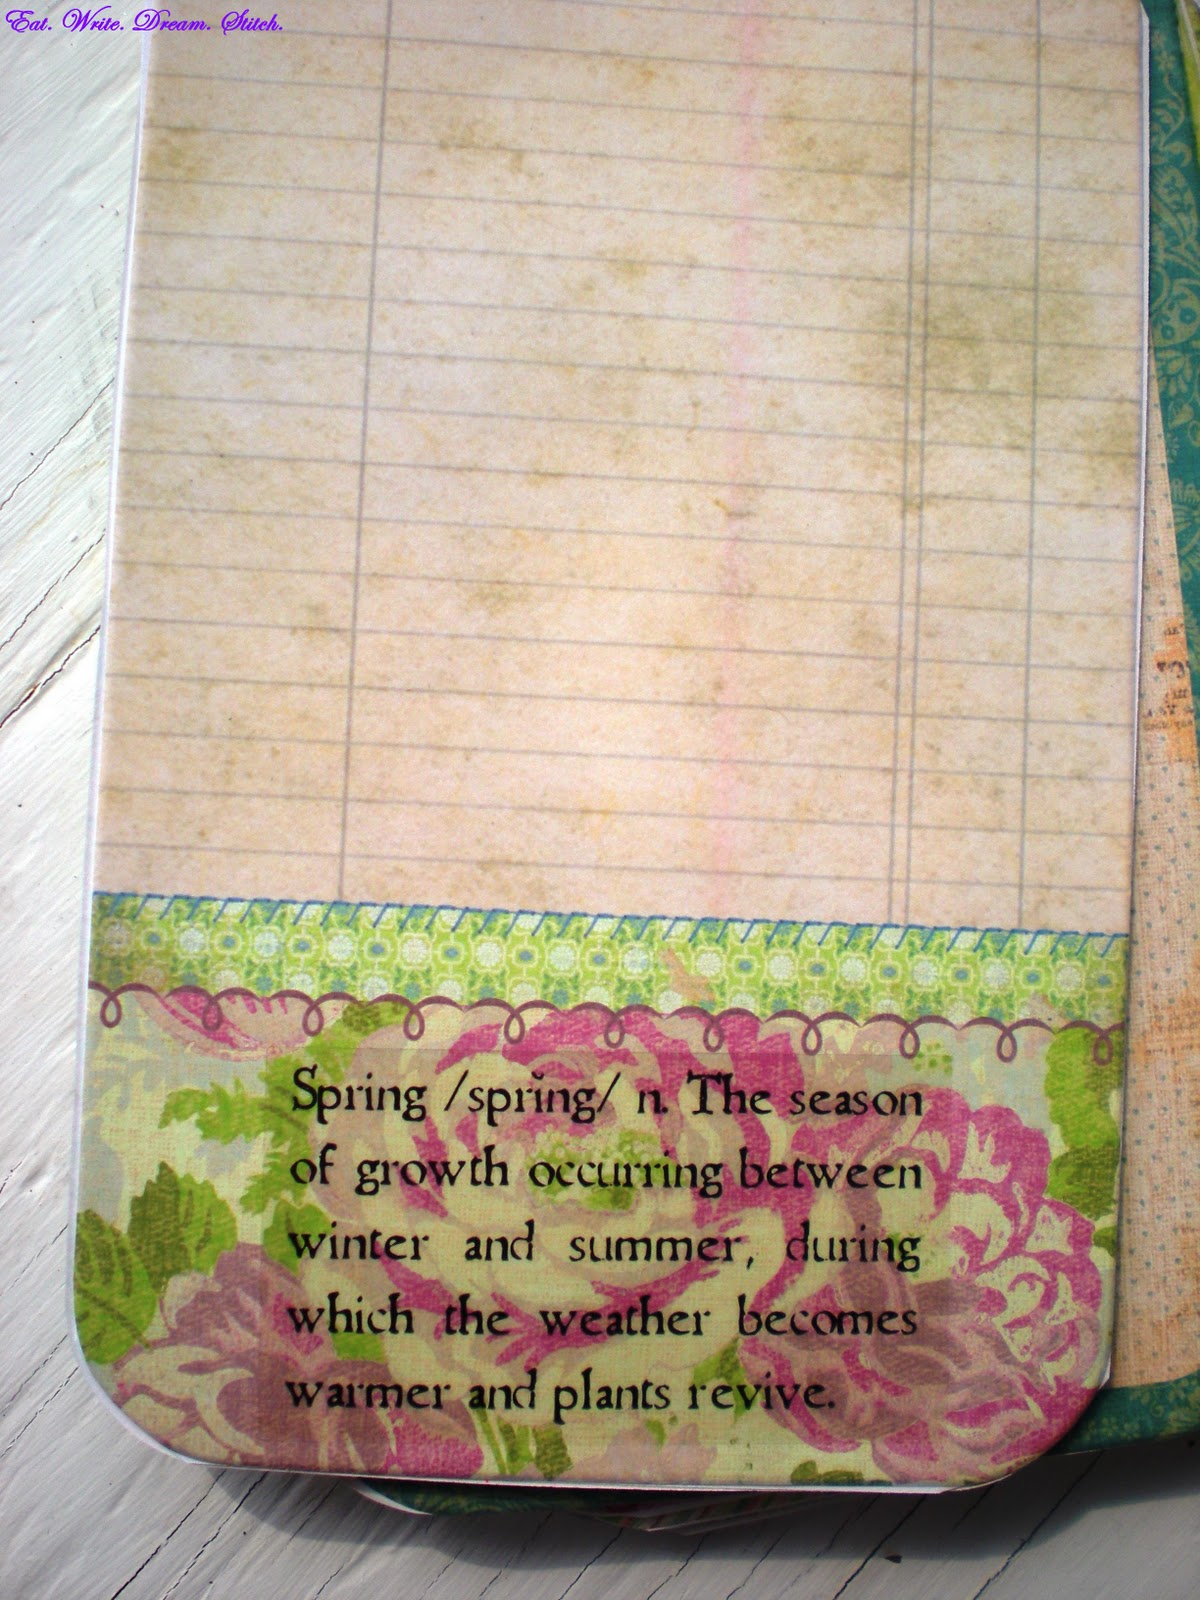
The other spring thing I'm planning is to design an Easter egg, using DMC floss. It's a contest on their blog--and I'm just going to give it a whirl! I have an idea incorporating some of my favorite images from the garden, sew I say, just go with it. Happy Friday to you!
Some people just want to sleep the winter away.


Monday, February 21, 2011

Cosmic Creative Space Inchie

It's "Every Inchie Monday" and the theme is "Cosmic."


My Inchie creation today is called "Cosmic Creative Space." 

Since I happen to LOVE shows about the universe, along with my passion to create things, I dug into my stash for anything that looked like God's sparkling, mysterious, glam-filled universe in order to create my Inchie (an Inchie is one square inch of art). 


(to participate or see all the tiny creativeness, visit: http://everyinchiemonday.blogspot.com)   

my scrapbooking stash
I happened to find a little stash of gift tags--most of them were shaped like Christmas bells, but I found some squares and one black tag, trimmed in silver, and it was exactly one square inch! I was happy! I cut off the string, and inserted a sequin and a bronze brad into the little hole. My first planet! 


Then I found a bead that reminded me of a whole galaxy, another bead that looked like either an odd-shaped galaxy or possibly a space ship, and a bunch of little crystal-like stickers. I needed a comet, and DMC Light Effects Floss and a couple of sequins did the trick.


One jeweled star sticker sort of rounded out my tiny creative universe, and the pink glitter hinted at the wonders that are too far away to see. Done! Ahhh...many more Inchie Mondays to come...I can't wait.


I think my craft table becomes quite the creative universe when I'm working on an Inchie!


And Minnie helped, of course!

Sunday, February 20, 2011

Stitch and Sip

After a string of extra-warm and sunny February days--it's a little gloomy here in the Ozarks today, but at least now I know where to find my hot coffee!

This little rustic mixed-media fabric sign now hangs over my coffee making area in the kitchen. I love it. Most of the elements came from stash--and some things from a trip to Michaels yesterday! I'll show you what's what.

 ****************************
The whole thing began with the cross-stitched Fresh Hot Coffee letters. A few years ago, my daughter attended a school that was out of our district, and quite a little trip, so I had to leave early to pick her up each day, and consequently had to sit in the "car line" for 30 to 40 minutes (I know, oh what fun). I was never without either some knitting, reading, or cross-stitching. So one day I took some old aida cloth, tea-stained it with tea bags for a rustic, aged look, let it dry, and planned to create a cute coffee sign. I cross-stitched letters that used regular DMC floss and DMC Light-Effects floss--and the overall effect was exactly what I wanted. Day after day in the pickup line, I worked my little design, and one day I finished it, put it away, and then a few years went by. Don't you love that? Not too long ago, I was looking through a stash of flat-stored finished cross-stitch pieces, and found the sign again. I had to let it lay around on my craft table for several days before deciding exactly how I wanted to embellish and finish it.  

I found a cute blue-patterned fabric in my stash, for a heart applique, and coffee-colored fabric remnants for the backing, and a country-heart fabric piece to finish both the front and the back with a same-size piece of muslin sandwiched inbetween--kind of like quilting the whole thing. I wanted to sew it with a double zigzag around the edges as part of the rustic look. I decided I needed a cross-stitched coffee mug--made up my own little design for one--and appliqued it to the sign. Sewing a frame of pink beads really set it off.  

Then, I had a great trip to Michaels! Not only did I have a 50% off coupon for one item, but I also had a 25% coupon to use on a shadow box (for a future project) that was already on clearance. Score! Then, I had just activated my new Michaels membership card (they have just come out with those, and they are free) and so everything I purchased went on my rewards card. Double score! I used the 50% off coupon for another one of those fabulous Martha Stewart punches. I  also found the new DMC Memory Thread! So, back at home, I added more cute buttons and beads to my coffee sign, and tried out the Memory Thread--I am going to have so much fun with this stuff, plus it is acid-free, so also great for paper projects. I used the technique they suggested on the DMC website, couching, and added a squiqqle of silver memory thread to the top of my sign. 

Around the sewing machine with some zigzag stitches, attaching a ribbon hanger, and it was done! I guess you could say it took years to do, in a way, but considering I only did the cross-stitching in the car, and then spent a couple of afternoons on it, years later, that's not too bad! It's coffee time!

AND, the verdict is in on this Memory Thread stuff--I'm going to get every color! It adds dimension and shape, and in handling it, I can see it's made really well to last and last. These are the things we discover when we are doing a project, and we don't really know what we're doing, and it just all comes together!


So here's a little pic of some of the charms on my Valentine Pandora bracelet! My hubby was so sweet to give it to me, and I think it will have me dreaming of more and more charms for years to come. :D


Monday, February 14, 2011

My First "Every Inchie Monday" - FISHY

Well Inchies are harder than I thought! 

"Every Inchie Monday" began on January 1st, but I am just now joining in on the fun and creativity. You create one square inch of art out of anything--as long as you stick to the theme for that week. It sounds so fun! But this week, the theme was "fishy" -- I had no good ideas on "fishy" so I created the teeniest little cross-stitched mermaid ever. I think it looks better in person--but I'm already in love with Every Inchie Monday, so hopefully I will get better and better. Here is the link if you are interested: http://everyinchiemonday.blogspot.com/2011/02/fishy-inchies.html.

Since it is officially Valentines Day today, my little mermaid has her heart in the sky--she's trying to escape the ocean, just like The Little Mermaid! (one of my favorite Disney movies)


Here you can see that this teeny cross-stitch is indeed one-inch square. How fun is that!


To begin my cross-stitched inchie, I took 18-count Aida cloth, marked a square inch with a bright orange floss, and started creating my original little design. I added some little blue beads for sea bubbles (see the little gold fish in the sea?) and my mermaid's long hair also has some sparkling red DMC floss. I outlined her face and body before filling in with cross stitches.


Even some of my smallest beads look huge on this!


My Valentine surprised me this morning with a Pandora bracelet!!! (pic to come later) I've always always wanted one, and it is beautiful and sentimental. I hope you all have a wonderful Valentines too!  EWDS